时间轴
时间轴
2025-10-20
init
本文介绍了在WSL环境中安装与配置zsh的完整过程,包括从bashrc迁移配置、设置主题以及集成zsh-autosuggestions和zsh-syntax-highlighting等常用插件的具体步骤,并提及使用Fira Code Nerd Font字体以优化显示效果。
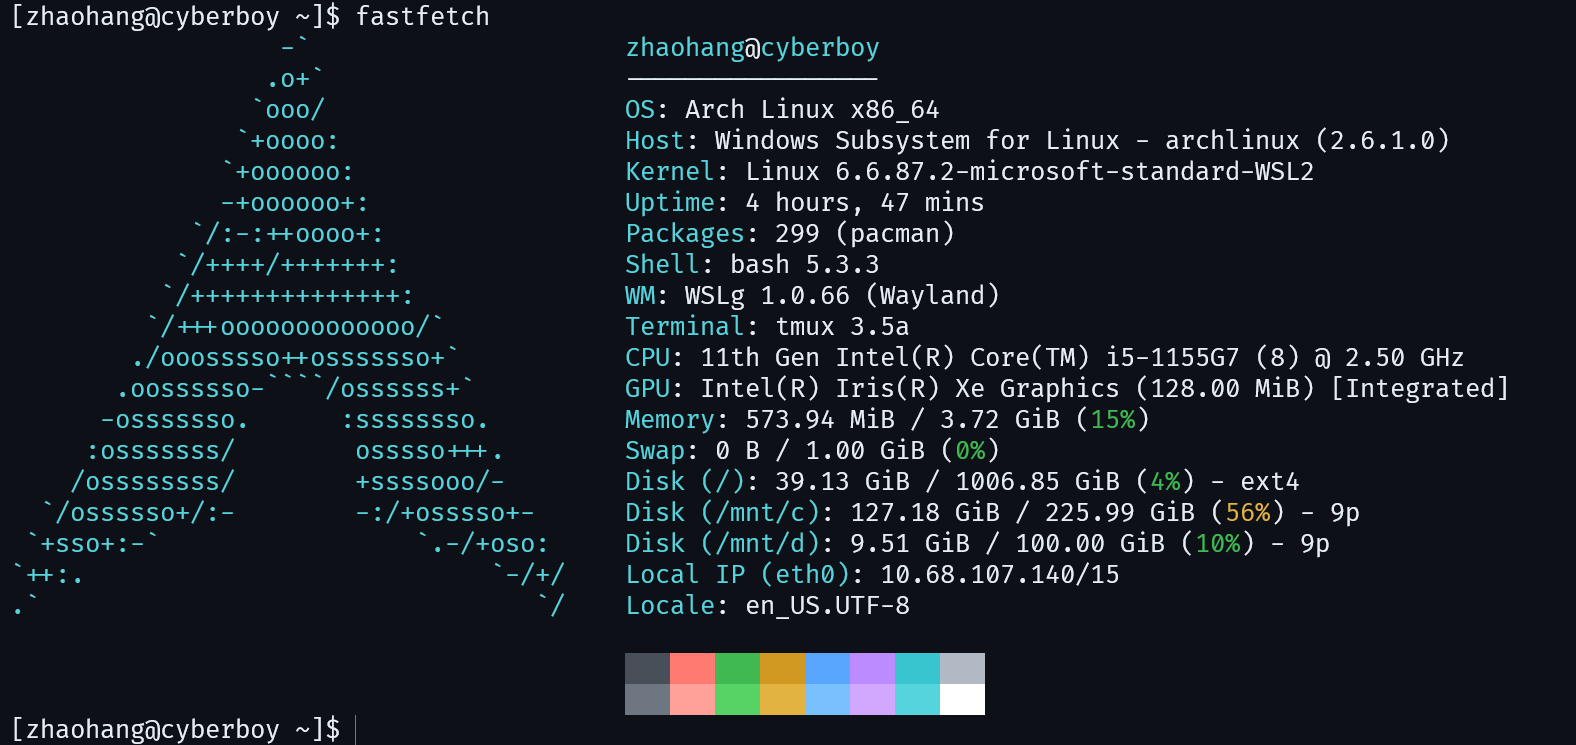
注意在WSL中使用了Fira Code Nerd Font
zsh安装
123456 | sudo pacman -Sy zsh# 更改默认终端为zshchsh -s /bin/zsh# 安装oh-my-zshwget https://raw.githubusercontent.com/ohmyzsh/ohmyzsh/master/tools/install.shsh install.sh |
配置
bashrc迁移
把之前.bashrc的配置复制到.zshrc下面
12345 | alias grep='grep --color=auto'alias ll="ls -alF"alias ls="exa --icons"source /home/zhaohang/.env.sh |
主题
1 | git clone --depth=1 https://github.com/romkatv/powerlevel10k.git ${ZSH_CUSTOM:-$HOME/.oh-my-zsh/custom}/themes/powerlevel10k |
在~/.zshrc中设置:
1 | ZSH_THEME="powerlevel10k/powerlevel10k" |
然后
1 | source ~/.zshrc |
接下来根据提示选择即可
插件
zsh-autosuggestions
1 | git clone https://github.com/zsh-users/zsh-autosuggestions ${ZSH_CUSTOM:-~/.oh-my-zsh/custom}/plugins/zsh-autosuggestions |
zsh-syntax-highlighting
1 | git clone https://github.com/zsh-users/zsh-syntax-highlighting.git ${ZSH_CUSTOM:-~/.oh-my-zsh/custom}/plugins/zsh-syntax-highlighting |
在~/.zshrc中设置:
1 | plugins=(git zsh-autosuggestions zsh-syntax-highlighting z extract web-search) |
然后
1 | source ~/.zshrc |
效果
