Timeline
Timeline
2025-10-20
init
This article describes the complete process of installing and configuring zsh in the WSL environment, including specific steps for migrating configuration from bashrc, setting themes, and integrating common plugins such as zsh-autosuggestions and zsh-syntax-highlighting, and mentions using the Fira Code Nerd Font to optimize the display effect.
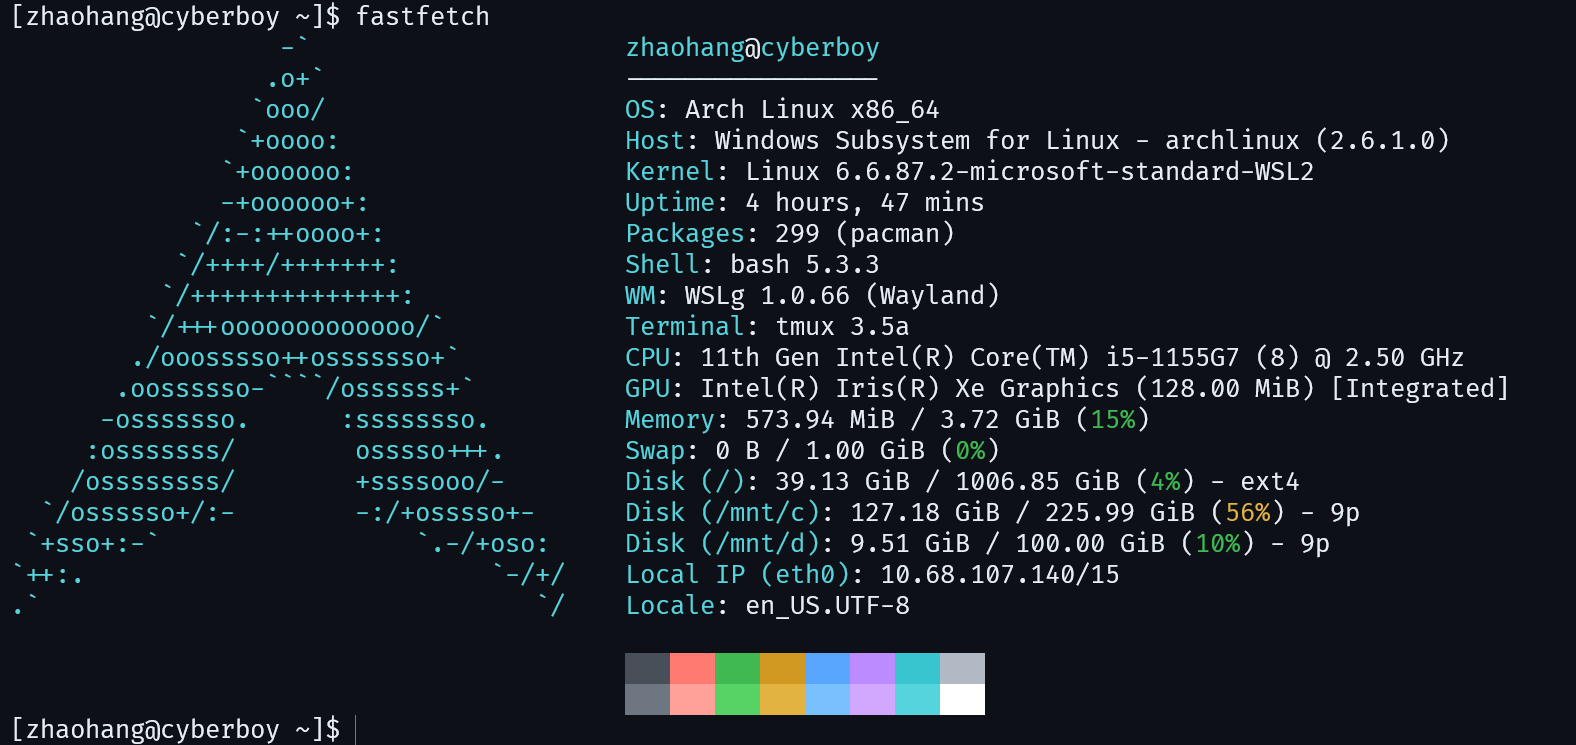
Note that Fira Code Nerd Font is used in WSL.
zsh installation
123456 | sudo pacman -Sy zsh# Change the default terminal to zshchsh -s /bin/zsh# Install oh-my-zshwget https://raw.githubusercontent.com/ohmyzsh/ohmyzsh/master/tools/install.shsh install.sh |
Configuration
bashrc migration
Copy the previous .bashrc configuration to .zshrc
12345 | alias grep='grep --color=auto'alias ll="ls -alF"alias ls="exa --icons"source /home/zhaohang/.env.sh |
Theme
1 | git clone --depth=1 https://github.com/romkatv/powerlevel10k.git ${ZSH_CUSTOM:-$HOME/.oh-my-zsh/custom}/themes/powerlevel10k |
Set in ~/.zshrc:
1 | ZSH_THEME="powerlevel10k/powerlevel10k" |
then
1 | source ~/.zshrc |
Next, just follow the prompts to choose.
Plugins
zsh-autosuggestions
1 | git clone https://github.com/zsh-users/zsh-autosuggestions ${ZSH_CUSTOM:-~/.oh-my-zsh/custom}/plugins/zsh-autosuggestions |
zsh-syntax-highlighting
1 | git clone https://github.com/zsh-users/zsh-syntax-highlighting.git ${ZSH_CUSTOM:-~/.oh-my-zsh/custom}/plugins/zsh-syntax-highlighting |
Set in ~/.zshrc:
1 | plugins=(git zsh-autosuggestions zsh-syntax-highlighting z extract web-search) |
then
1 | source ~/.zshrc |
Effect
