Timeline
Timeline
2025-03-14
init
This article introduces the complete setup process for self-hosting a RustDesk remote desktop server based on Ubuntu and Docker in a local area network environment. It details Docker environment preparation, port settings, and docker-compose deployment, and summarizes the installation of the Windows client, configuration of the ID/relay server IP and key, and the final connection method, providing users with a free alternative for remote control with high frame rates and high resolutions.
After using ToDesk for a few days without shutting it down, I used up all the quota by the middle of the month and was no longer allowed to use it for free. I directly uninstalled it and switched to RustDesk, using Self-host. It’s free, and the frame rate and resolution are much higher than the free version of ToDesk. Below is the record of the setup.
Basic Environment Setup
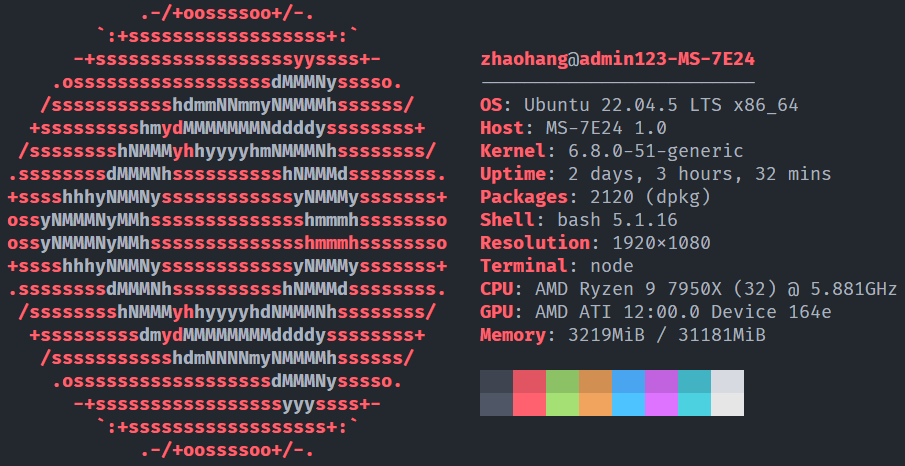
I am using two Windows (Win10) machines and one Ubuntu machine (configuration as shown in the image below). By using Ubuntu as the ID/relay server, I allow one Windows machine to connect to another. Ubuntu needs to have Docker installed, and both Windows machines need to have RustDesk installed and configured.
Note: My three machines are on the same local area network.
Install Docker and docker-compose-plugin
Reference:
After installation, you can add the current user to the docker user group
1 | # Add docker user group, usually already exists, no need to execute |
docker-compose.yaml
Reference official documentation:

If ufw is enabled, you need to open these ports:
1 | sudo ufw status |
Choose a directory to store the ID/relay server data:
1 | mkdir -p ~/rustdesk |
Below is the docker-compose.yaml file, which is from the official RustDesk documentation above:
1 | services: |
Then start:
1 | docker compose up -d |
RustDesk Installation and Configuration
Visit the following link to install:

After installation, open the network settings, and fill in the IP address of the ID/relay server (which is the IP address of the server running Docker) into the ID server and relay server fields. The controlled end can leave the relay server blank, but it is recommended for the controlling end to fill it in. Then, the controlling end needs to fill in the key (the content of the .pub file under the data folder above).

Finally, enter the ID and password of the controlled end to connect.