Qemu 模拟树莓派4b Linux module开发环境
时间轴
2025-12-31
init
2025-01-14
add buildroot
环境
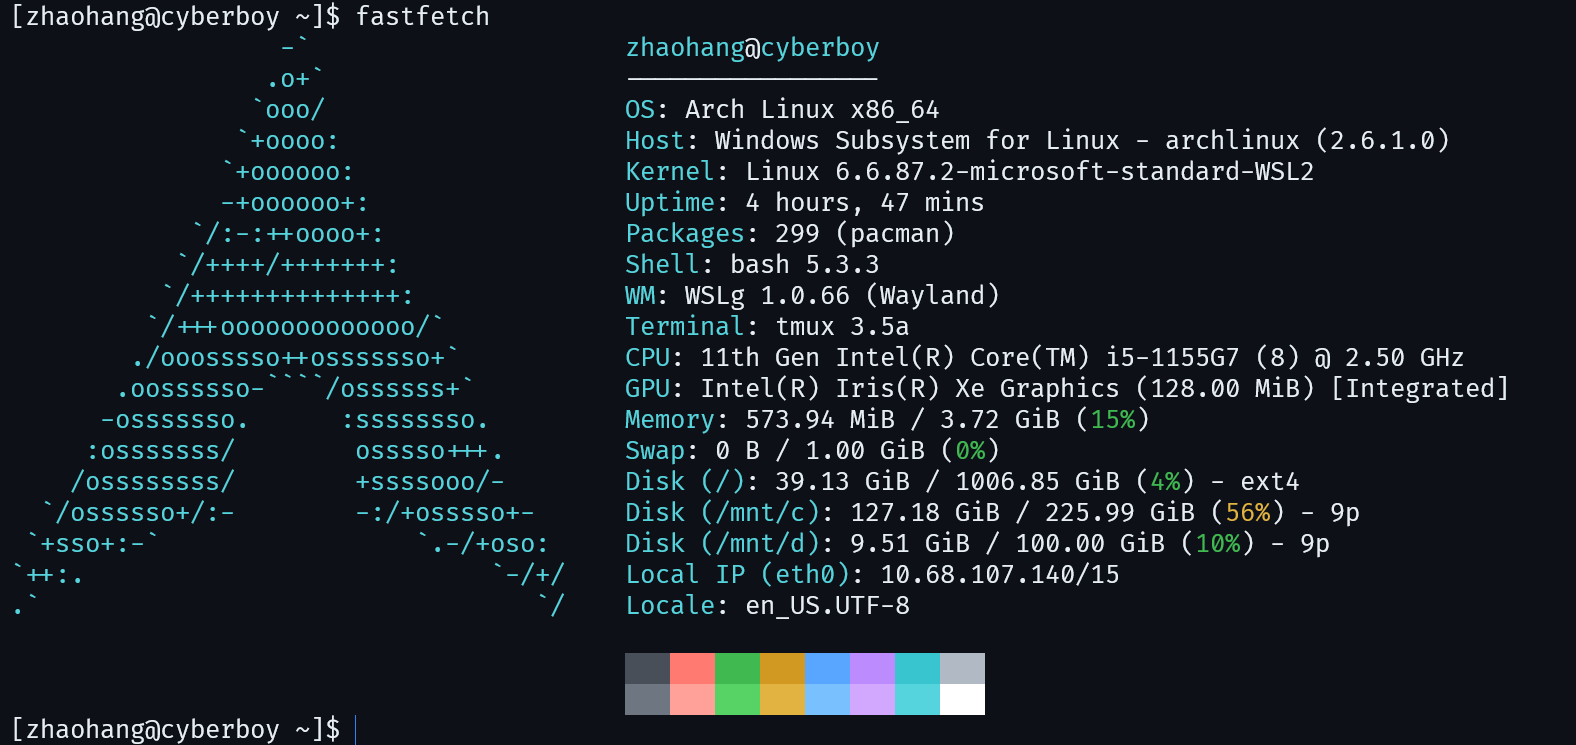
Host OS
使用WSL2的archlinux
使用Ubuntu也可,参考:
compiler
ARM目前总共发布了8种架构:ARMv1、ARMv2、ARMv3、ARMv4、ARMv5、ARMv6、ARMv7、ARMv8。
针对于支持ARMv8指令集的处理器可以使用-march=armv8-a参数编译代码,ARM GNU编译器可通过下面的链接下载

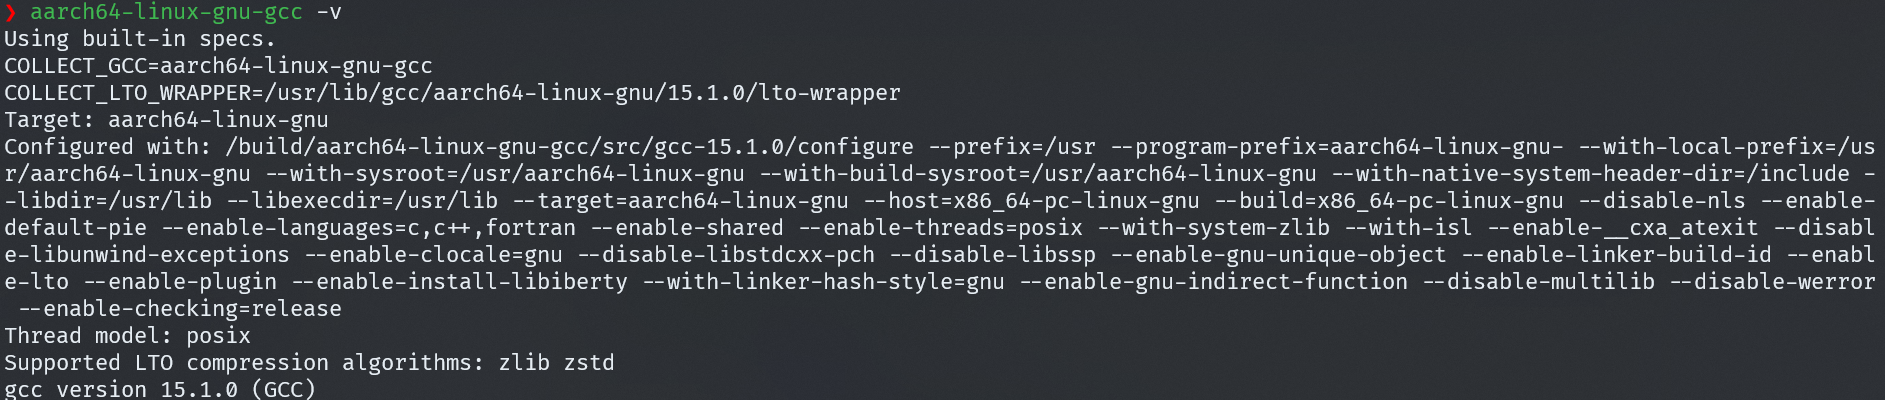
比如archlinux上通过pacman下载的aarch64-linux-gnu-gcc版本是15.1.0,它的文件是flat布局的。不适用于buildroot的编译工具链。
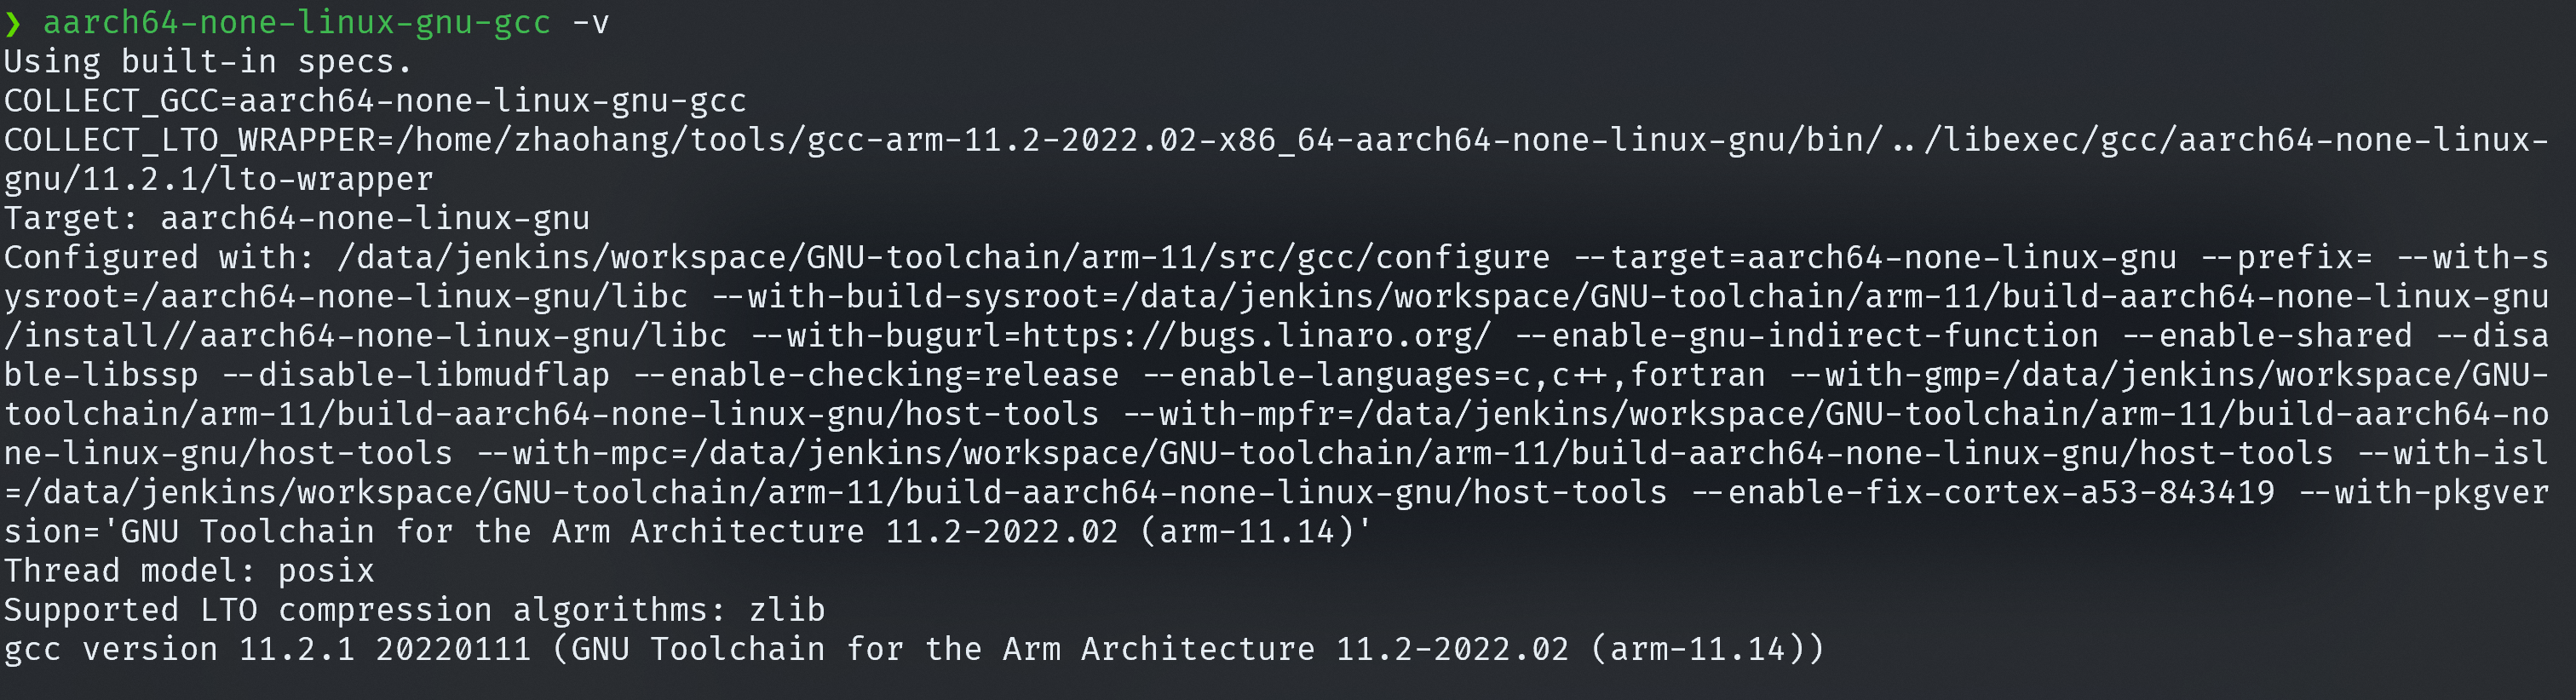
推荐使用ARM官网的编译器,它是Portable的,解压后即可使用。
本文使用的是11.2版本的交叉编译器
可以将其添加到环境变量
1 | # ~/.bashrc或~/. |
使用11.2.1版本的aarch64-none-linux-gnu-gcc
编译内核
1 | sudo pacman -Syu bc |
输出:
arch/arm64/boot/Imagearch/arm64/boot/dts/broadcom/bcm2711-rpi-4-b.dtb
编译根文件系统
busybox
参考:
注意这篇博客使用的是archlinux上pacman下载的aarch64-linux-gnu-gcc编译器,编译器最好和编译内核的编译器保持一致,这里我们选择aarch64-none-linux-gnu-gcc
拷贝动态库文件时要拷贝编译器目录下的:
1 | cp ~/tools/gcc-arm-11.2-2022.02-x86_64-aarch64-none-linux-gnu/aarch64-none-linux-gnu/libc/lib/ld-linux-aarch64.so.1 ./lib/ |
编译完成后进入linux内核代码,安装驱动:
1 | # 安装驱动,拷贝到根文件系统 |
buildroot
Archlinux默认工具链及AUR提供的交叉工具链都是无法复制使用的,因为 Buildroot 在构建时会将工具链复制到工作目录执行,因此我们需要选择 Portable 的工具链。
1 | wget https://buildroot.org/downloads/buildroot-2025.11.tar.gz |
配置如下
1 | Target Options ---> |
这里kernel中的选项都不要打开(默认是不打开的),因为我们要自己编译kernel;bootloader的选项也都不要打开,因为使用qemu启动不需要bootloader。
External toolchain kernel headers series (4.20.x) 这里指的是工具链对应的内核版本,可以在
gcc-arm-11.2-2022.02-x86_64-aarch64-none-linux-gnu/aarch64-none-linux-gnu/libc/usr/include/linux/version.h目录查看,这里应该是4.20.x
编译:
1 | sudo pacman -Syu unzip cpio rsync |
进入linux内核目录,安装驱动
1 | # 安装驱动,拷贝到根文件系统 |
yocto
1 | mkdir -p ~/repository/linux/yocto |
Yocto 不会自动识别任意外部工具链!必须有一个 专门的 layer 提供对该工具链的支持(通过
tcmode-*.inc和toolchain-*.conf文件)。常见支持层:meta-arm→ 支持 ARM 官方 GNU Toolchain
Yocto Project / OpenEmbedded 构建系统 中可用的 发行版(distribution)配置
-
poky-master-
Poky 是 Yocto Project 的参考发行版(reference distribution)。
-
-master表示使用 最新开发主线(main branch) 的代码,即 尚未发布、正在开发中的版本。
-
-
oe-nodistro-master-
OpenEmbedded (OE) 是 Yocto Project 底层的构建框架。
-
nodistro表示“无发行版”模式——不绑定任何特定发行版策略,只提供最基础的构建能力。 -
-master同样表示使用 开发主线。
-
-
oe-nodistro-whinlatter-
基于 OpenEmbedded 的
nodistro配置; -
使用 Yocto 5.3 版本代号 “whinlatter” 的稳定分支;
-
属于长期支持版本;
-
nodistro表示“无发行版”模式。
-
-
poky-whinlatter-
Poky 发行版 的 5.3 “whinlatter” 稳定版本;
-
包含完整的默认配置(如使用 systemd、RPM/deb 包格式可选、默认工具链等);
-
属于长期支持版本;
-
是 Yocto Project 官方测试和认证的参考平台。
-
“whinlatter” 是 Yocto Project 5.3 的代号(Yocto 版本从 4.0 开始用鸟类名称命名,5.3 = Whinchat + Lark → “Whinlatter”)。
BitBake 构建配置(layers / templates)
-
poky-
这是 标准的 Poky 构建配置。
-
所有软件包(recipes)都会从源码完整构建(除非你本地已有缓存)。
-
安全、可靠、行为可预测。
-
-
poky-with-sstate- 启用了 远程共享状态(shared state, sstate)缓存。
- 构建时会尝试从 Yocto 官方或指定的 sstate 镜像服务器 下载预编译的中间产物(如已编译的库、内核模块等),从而大幅加快构建速度。
- 但有严格前提:
- 你的 本地网络必须非常稳定且带宽充足;
- 必须能访问外部 sstate 服务器(通常需要互联网);
- 如果网络中断或镜像不匹配,可能导致构建失败或不一致;
- “Use with caution” 正是提醒这一点。
sstate 是 Yocto 的缓存机制:它保存任务的输出(如
do_compile的结果),下次构建相同内容时可直接复用,无需重做。
目标机器(Target Machine)
-
machine/qemux86-64-
模拟 x86_64 架构的 PC,使用 QEMU 虚拟机。
-
基于标准 PC 硬件模型(如 Intel/AMD 64 位 CPU、常见外设)。
-
-
machine/qemuarm64-
模拟 ARM64(AArch64)架构 的虚拟设备(如基于 Cortex-A57 的系统)。
-
也通过 QEMU 运行,无需真实 ARM 板子。
-
-
machine/qemuriscv64- 模拟 RISC-V 64 位架构 的虚拟机。
-
machine/genericarm64-
通用 ARM64 真实硬件 的参考配置(非模拟器)。
-
不绑定具体板子(如 Raspberry Pi、BeagleBone),而是提供一个“通用”ARM64 BSP。
-
需要将生成的镜像烧录到真实的 ARM64 开发板上运行。
-
可能缺少特定板级驱动(如 GPU、WiFi),需自行适配。
-
-
machine/genericx86-64-
通用 x86_64 真实硬件 的参考配置(如普通 PC、Intel NUC、工控机)。
-
生成的镜像可直接写入 U 盘,在真实 x86_64 电脑上启动。
-
发行版配置变体(Distribution configuration variants)
-
distro/poky- 标准 Poky 发行版配置。包含完整的 Linux 系统:glibc、systemd、包管理器(RPM 或 IPK)、常用工具(bash、coreutls、networking 等)。
- 默认使用 systemd 作为 init 系统。
- 适合通用开发、学习和大多数嵌入式应用场景。
- 镜像较大(几百 MB),但功能齐全。
-
distro/poky-altcfg-
Poky 的替代配置(alternative configuration)。
-
通常用于测试不同的底层组件组合,例如:
- 使用 musl libc 替代 glibc;
- 使用 busybox + sysvinit 替代 systemd;
- 更小的默认镜像或不同安全策略。
-
具体行为取决于 Yocto 版本,文档较少,稳定性不如标准 Poky。
-
主要用于 Yocto 内部测试或高级定制场景。
-
-
distro/poky-tiny- 极简版 Poky,专为资源受限设备设计。
- 特点:
- 使用 musl libc(更小、更快);
- 使用 busybox + sysvinit(无 systemd);
- 移除了大量非必要软件包;
- 最终根文件系统可小至 10–20 MB。
- 功能有限:可能没有网络工具、shell 功能简化、无包管理。
- 适合:微控制器级应用、启动加载器后的最小环境、安全关键系统。
1 | # 进入构建环境 |
内核模块
内核模块示例代码
1 |
|
external module
这里以busybox根文件系统为例
Makefile
1 | DRIVER_NAME := hello_world |
其中打包根文件系统的脚本deploy.sh如下:
1 |
|
遇到一个问题是在WSL2 archlinux 上用 aarch64-linux-gnu-gcc 编译时没 print(aarch64-none-linux-gnu-gcc也不行),目前没找到解决办法,在 stackoverflow 上详细描述了具体问题:

而使用WSL2 Ubuntu20.04时没有这个问题。
built-in module
在drivers/char(以字符驱动为例)创建文件夹helloworld,然后将驱动源代码放入,然后创建Kconfig文件
1 | config HELLO_WORLD |
更改drivers
1 | emacs ../Kconfig |
在驱动源码里创建Makefile
1 | obj-$(CONFIG_helloworld) += helloworld.o |
然后在上一级的Makefile中添加:
1 | emacs ../Makefile |
然后编译内核即可
qemu 运行
qemu版本
1 | $ sudo pacman -Syu qemu-system-aarch64 |
busybox 根文件系统
busybox这里我们编译成initramfs.cpio.gz,作为initrd参数的值。
运行
1 | qemu-system-aarch64 \ |
按command + a, 然后按 x 可以退出qemu
buildroot 根文件系统
buildroot这里我们使用sd卡挂载文件系统
1 | $ qemu-system-aarch64 \ |
按command + a, 然后按 x 可以退出qemu
yocto 根文件系统
使用initramfs.cpio.gz或使用sd卡挂载文件系统
1 | $ qemu-system-aarch64 \ |